Turn a photo into a layered SVG
PULPO! turns a photo into a layered SVG with one layer for each colour. Upload the photo, choose a look and the number of colours, and move colours between layers if you want. Then download the layered SVG in the Maker pack (£4) and cut it on a Cricut, a Silhouette, or a laser cutter.
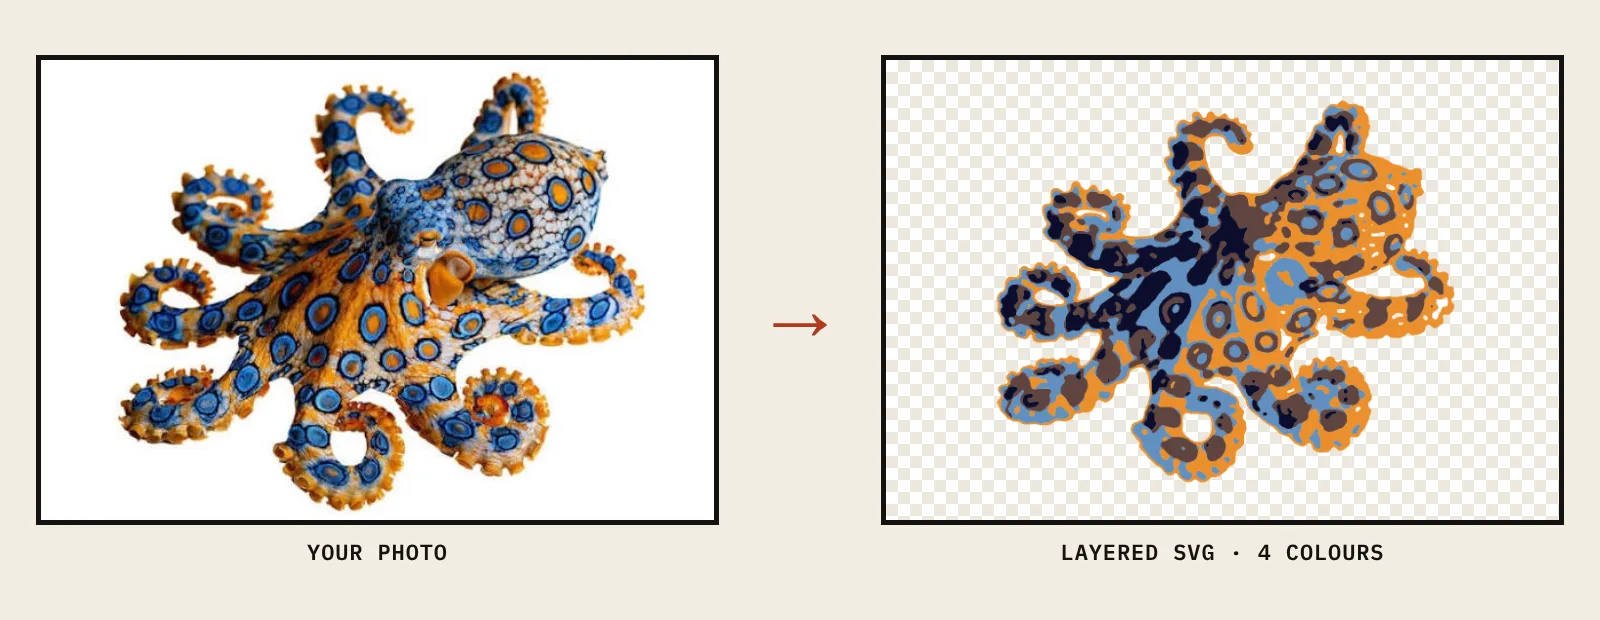
How it works
- Upload a photo. Crop it, and remove the background if you want only the subject. This runs on your device.
- Pick a look. For vinyl, choose "Full colour" or "Colour with white gaps". These photo-colour looks give each colour its own area, so the layers do not stack.
- Check your blocks. In "Your blocks", each layer shows the photo colours on it. Put many colours on one layer to make it simpler, or keep a small colour, such as a yellow bill, on its own layer.
- Get the files. The Maker pack has the layered SVG, one SVG for each colour, and A3 print files.
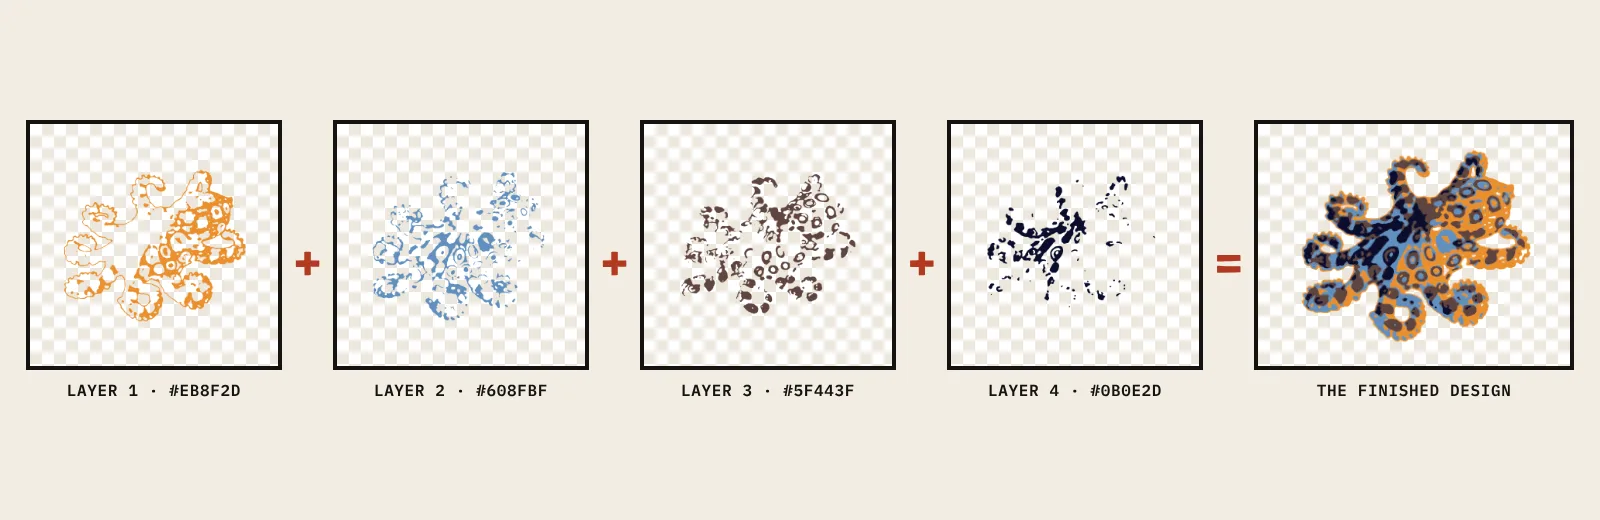
What you get
| File | Free files | Maker pack (£4) |
|---|---|---|
| Layered SVG, one layer per colour, in your colours | No | Yes |
| One SVG for each colour, for one sheet of vinyl at a time | No | Yes |
| Laser cutter SVG for each block, with the block edge | No | Yes |
| The finished design as a PNG | Yes | Yes, also at A3 |
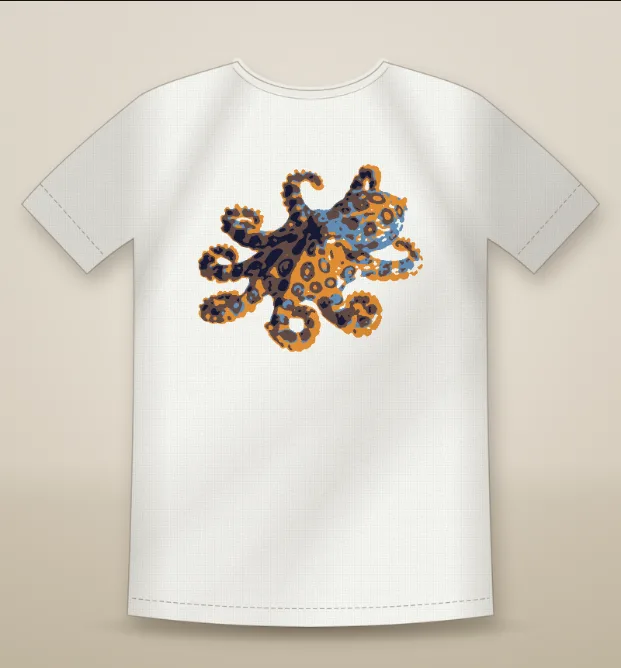
| Design with no background (PNG), for printing on a tee | Yes | Yes, also at A3 |
| Print guide, ink recipes and registration jig | No | Yes |
The Maker pack is for one design. You pay once, the download starts at once, and the email link downloads it again from any device.
Which machines and apps
| Machine | App | Notes |
|---|---|---|
| Cricut (Joy, Explore, Maker) | Cricut Design Space | Upload the layered SVG. It separates into layers, one per colour. See the Cricut guide. |
| Silhouette (Cameo, Portrait) | Silhouette Studio | The desktop app needs Designer Edition or higher for SVG files. The Silhouette Go mobile app also opens them. |
| Laser cutters and engravers | LightBurn, xTool Creative Space, Glowforge | Use the files in the laser-cutter folder: one per block, with the block edge in red. |
Photos that work best
- One clear subject: a pet, a face, a building, a plant. Remove a busy background in step 1.
- Strong light with clear shadows. Flat, grey light gives weak layers.
- 2 to 4 colours for vinyl. Each extra colour is one more sheet to cut, weed and press.
- A large photo: 1500 px or more on the long side gives cleaner edges.
Make your layered SVG
Upload a photo and see your layers in seconds. Designing is free and needs no sign-up.
Start with a photoQuestions
Is it free?
Making the design is free, with no sign-up, and the free download gives PNG files. The layered SVG files are in the Maker pack, which costs £4 for one design, in any country.
How many colours can a layered SVG have?
From 1 to 5 colours. For iron-on vinyl, Cricut recommends no more than 4 layers in a stack. PULPO! photo-colour looks do not stack: each colour fills its own area.
Does it work with Cricut Design Space?
Yes. Upload the layered SVG in Design Space. It separates into one layer per colour, and each colour cuts on its own mat.
Does it work with Silhouette Studio?
Yes, but the desktop Silhouette Studio needs Designer Edition or higher to open SVG files. The Silhouette Go mobile app opens SVG files for Bluetooth Silhouette machines.
Can I sell things I make with it?
Yes, if you have the rights to the photo. You own the designs that you make from your own photos, and you can use them for things you sell.